

How to Create a Salon-Worthy Manicure at Home
Achieving a flawless, salon-quality manicure without stepping foot into a nail salon is completely possible—and with the right tools, tips, and techniques, you can save both time and money. Whether you’re looking to pamper yourself for a special occasion or just want to refresh your nails, a salon-worthy manicure can be done easily at home.
In this step-by-step guide, we’ll break down everything you need to create the perfect at-home manicure, from prepping your nails to applying the perfect coat of polish.
Step 1: Gather Your Tools
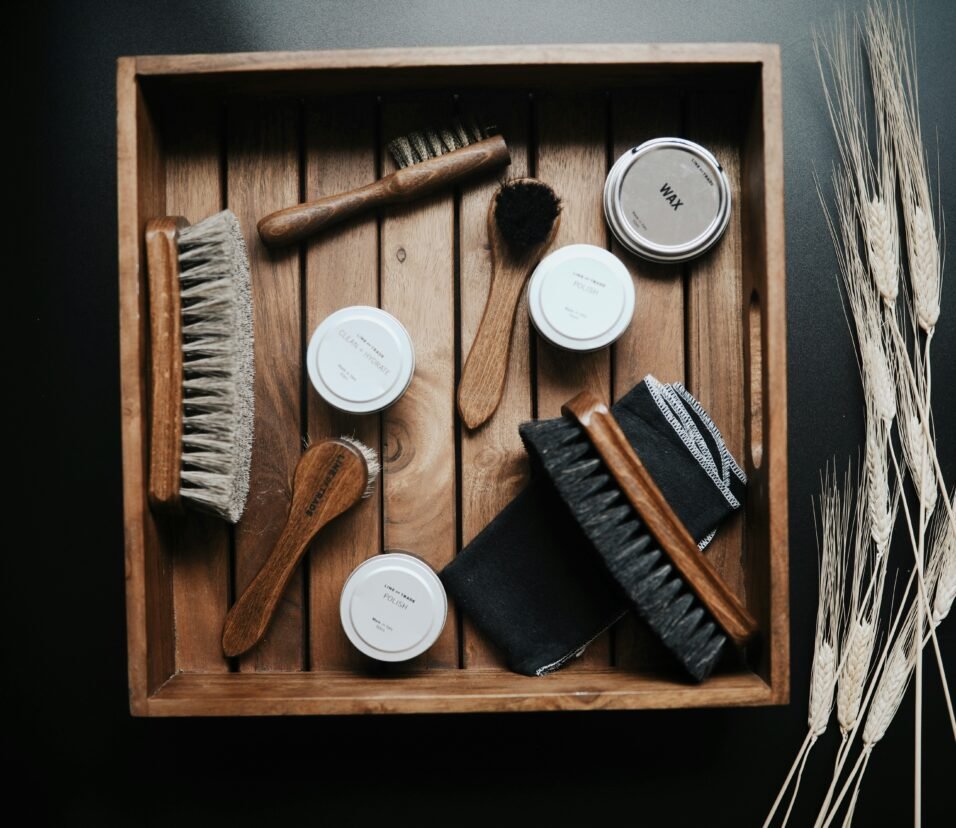
Before you get started, make sure you have all the necessary tools on hand. A well-equipped nail kit is essential for a professional-looking manicure. Here’s what you’ll need:
- Nail Clippers: For trimming your nails to your desired length.
- Nail File & Buffer: To shape your nails and smooth out ridges.
- Cuticle Pusher: To gently push back your cuticles for a cleaner look.
- Cuticle Remover: For softening and removing excess cuticle buildup.
- Nail Polish Remover: To clean off any previous polish or oil.
- Cotton Pads or Balls: For applying remover.
- Base Coat: To protect your nails and create a smooth surface.
- Nail Polish: Your favorite color or nude shade.
- Top Coat: To lock in the color and add shine.
- Nail Oil or Cream: To hydrate your cuticles and nails.
Having these tools ready will ensure a smooth process from start to finish. You can also opt for a quick-dry top coat or a gel polish system if you prefer longer-lasting results.
Step 2: Remove Old Nail Polish
If you’re starting with nails that already have polish, it’s important to remove any remnants thoroughly. Use a cotton pad or ball and apply a bit of nail polish remover. Gently wipe off the old polish, being sure to get around the cuticles and the edges of the nails.
Pro Tip: For stubborn or dark polish, soak a cotton pad in remover and place it on your nail for a minute to loosen the color before gently wiping it away.
Step 3: Trim & Shape Your Nails
Once your nails are clean, it’s time to trim and shape them to perfection. Trim your nails to your desired length using a nail clipper. Be sure not to cut them too short to avoid any discomfort.
Next, shape your nails using a nail file. You can choose a round, square, or oval shape based on your personal preference. Just be sure to file in one direction (instead of back and forth) to prevent damage and splitting.
Pro Tip: For a salon-worthy finish, make sure your nails are all the same length and shape. Uniformity will make your hands look neat and elegant.
Step 4: Soften and Push Back Cuticles
One of the biggest indicators of a professional manicure is well-maintained cuticles. Cuticles can make or break the look of your nails, so it’s important to give them some attention.
First, apply a cuticle remover to soften the skin around the nail bed. Let it sit for about 1-2 minutes. Then, gently push back the cuticles using a cuticle pusher. Avoid cutting your cuticles, as this can lead to infection or irritation.
Pro Tip: If you have stubborn cuticles, apply a cuticle oil or cream after pushing them back to keep the area hydrated and healthy.
Step 5: Buff Your Nails
Buffing your nails will create a smooth surface, making it easier for polish to adhere and giving your nails a healthy shine. Use a gentle nail buffer to smooth out any ridges or unevenness.
Pro Tip: Be gentle while buffing—excessive buffing can weaken the nails. Focus on the surface and avoid buffing too aggressively.
Step 6: Apply a Base Coat
A base coat is essential for ensuring your manicure lasts longer and prevents staining from colored polishes. Apply a thin layer of base coat to each nail, making sure to cover the edges and tips of your nails. Let it dry for a minute or two before moving to the next step.
Pro Tip: A base coat helps smooth out the surface of your nails and gives your polish a better grip, so you won’t experience chipping as quickly.
Step 7: Apply Your Nail Polish
Now comes the fun part—choosing your nail color! When applying nail polish, take your time and apply it carefully to avoid smudges or streaks. Follow these steps for a flawless finish:
- First Coat: Start by applying the first coat of color. Use long, smooth strokes from the base of the nail to the tip. Avoid applying too much product at once; a thin coat will dry faster and allow for an even finish.
- Wait for Drying: Let the first coat dry for about 1-2 minutes. This prevents smudging when you apply the second coat.
- Second Coat: Apply the second coat in the same manner. Two coats will give your nails full coverage and an opaque, rich color.
Pro Tip: For the best results, apply your nail polish in thin layers to prevent thick, uneven application that may cause bubbles or streaks.
Step 8: Apply a Top Coat
Once your color is completely dry, it’s time to lock it in with a top coat. A good top coat not only adds shine but also helps your manicure last longer. Apply a thin layer over your nails, making sure to cover the tips and edges to prevent chipping.
Pro Tip: For added longevity, try a quick-drying top coat. This will help seal in your manicure and speed up drying time, so you don’t have to worry about smudges.
Step 9: Clean Up Around the Edges
Sometimes, a little polish ends up on your skin or cuticles. No worries—cleaning up is easy! Dip a small brush or cotton swab into some nail polish remover, and gently wipe away any excess polish around your nails.
Pro Tip: To make the clean-up process even easier, dip a cotton swab into remover and outline the edges of your nails to sharpen the look.
Step 10: Hydrate and Finish
Once your nails are dry and you’re happy with your manicure, it’s time to nourish your nails and cuticles. Apply a nourishing cuticle oil or hand cream to keep your skin and nails hydrated. This step adds that final touch of luxury to your home manicure, ensuring your hands look as smooth and well-maintained as your nails.
Pro Tip: Apply cuticle oil every day to keep your nails and cuticles in top shape.
Bonus Tips for Long-Lasting Manicures
- Avoid water: After applying your manicure, avoid soaking your hands in water for the first few hours. Water can cause your polish to lift or smudge.
- Reapply top coat: For extra shine and longevity, reapply a thin layer of top coat every few days.
- Don’t use nails as tools: Avoid using your nails as tools (like opening cans or scratching labels) to prevent chipping.
- Wear gloves while cleaning: Protect your nails and polish by wearing gloves while doing household chores.
Conclusion: A Perfect Manicure, Every Time
With a little patience and practice, you can easily create a salon-worthy manicure at home. From prepping your nails to adding the perfect finish, following these steps will help you achieve flawless nails without leaving your house. The best part? You can change your nail color as often as you like and enjoy a personalized experience every time you sit down to pamper yourself.
So, what are you waiting for? Grab your nail kit, choose your favorite polish, and treat yourself to a professional-looking manicure that will make your hands look fabulous!